
Claude Code with GitHub Actions: Automated Code Review Setup Guide
Learn how to set up Claude Code with GitHub Actions for automated code review, issue triage, and CI/CD workflows. Covers workflow configuration, authentication, CLI flags, and best practices.
What This Guide Covers
This guide walks you through setting up Claude Code with GitHub Actions to automate code review, issue triage, and other CI/CD workflows. It is written for developers who already have a GitHub repository and want to use Claude Code to review pull requests, analyze code changes, and run automated tasks without manual intervention. By the end, you will understand how to configure a GitHub Actions workflow that invokes Claude Code, how to handle authentication in CI, and what flags and settings control Claude Code's behavior in a non-interactive environment.
What You Need
Before you begin, ensure you have the following:
- A GitHub account with a repository you want to automate.
- A Claude subscription (Pro, Max, Team, or Enterprise), a Claude Console account, or access through a supported cloud provider (Amazon Bedrock, Google Cloud's Agent Platform, or Microsoft Foundry). According to the official documentation, Claude Code requires an account to use, and you will need to authenticate in CI.
- Claude Code installed locally for testing (optional but recommended). See the installation instructions in the overview for your operating system: native install via curl on macOS/Linux/WSL, Homebrew on macOS, WinGet on Windows, or package managers like apt, dnf, or apk on Linux.
- Basic familiarity with GitHub Actions: you should know what a workflow file is and how to commit it to your repository.
- Git installed on your local machine. For native Windows users, Git for Windows is recommended so Claude Code can use the Bash tool. If Git for Windows is not installed, Claude Code falls back to PowerShell as the shell tool. WSL users do not need Git for Windows.
How Claude Code Works in CI/CD
Claude Code is an agentic coding tool that reads your codebase, edits files, runs commands, and integrates with your development tools. It is available on multiple surfaces: terminal, VS Code, JetBrains IDEs, desktop app, web, and CI/CD. The official documentation states that "In CI, you can automate code review and issue triage with GitHub Actions or GitLab CI/CD." This means Claude Code can run as part of your automated pipeline, reviewing pull requests, analyzing code changes, and even creating commits or pull requests based on its analysis.
When running in CI, Claude Code operates non-interactively. You provide a prompt via the -p flag, and Claude Code executes the task, then exits. It does not wait for user approval because there is no human in the loop. This is a key difference from interactive sessions where Claude asks for approval before changing files. In CI, you must design your workflow to either trust Claude Code's edits or use a review step that requires human sign-off before merging.
Setting Up a GitHub Actions Workflow for Claude Code
Step 1: Create the Workflow File
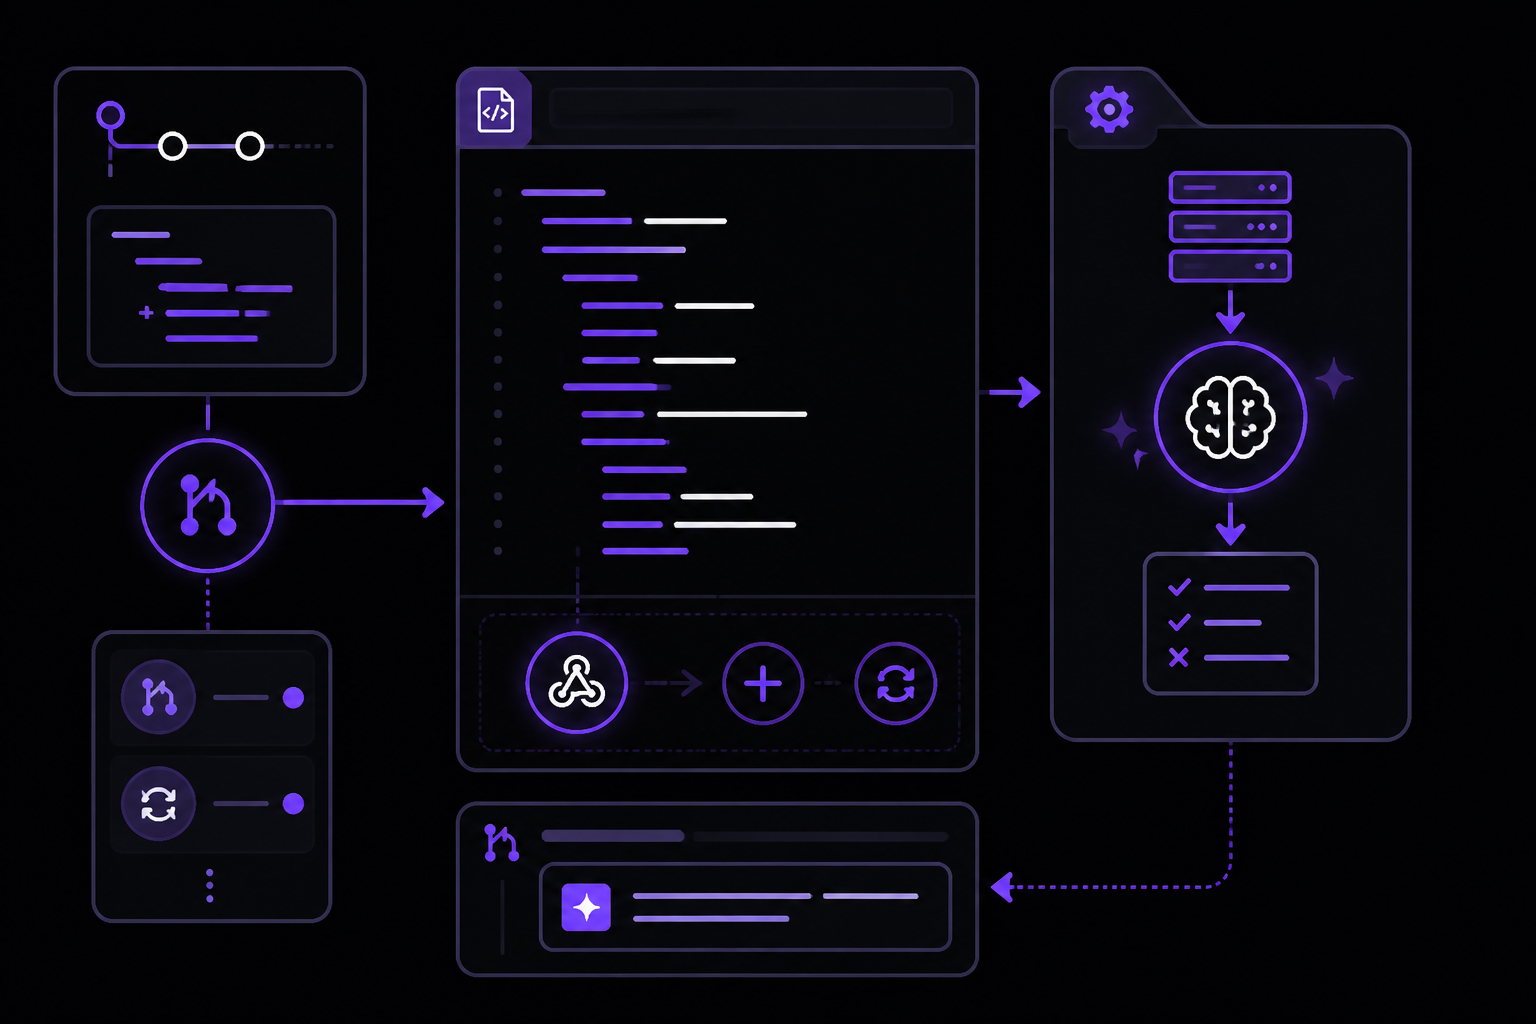
In your GitHub repository, create a new file at .github/workflows/claude-code-review.yml. This file defines the workflow that will trigger Claude Code on events like pull requests or pushes.
Here is a basic workflow that runs Claude Code on every pull request to review the changed files:
name: Claude Code Review

on:
  pull_request:
    types: [opened, synchronize]

jobs:
  review:
    runs-on: ubuntu-latest
    steps:
      - name: Checkout code
        uses: actions/checkout@v4
        with:
          fetch-depth: 0

      - name: Install Claude Code
        run: |
          curl -fsSL https://claude.ai/install.sh | bash

      - name: Run Claude Code review
        env:
          ANTHROPIC_API_KEY: ${{ secrets.ANTHROPIC_API_KEY }}
        run: |
          claude -p "Review the changes in this pull request. Look for security issues, bugs, and style problems. Provide a summary of your findings." --print
Step 2: Understand Each Part
- Trigger: The workflow triggers on
pull_requestevents with typesopened(when a PR is first created) andsynchronize(when new commits are pushed to the PR branch). You can add other types likeready_for_revieworreopenedas needed. - Checkout with fetch-depth: 0: This fetches the entire git history, which is important because Claude Code may need to understand the full context of changes, including diffs against the base branch. Without full history, Claude might not have enough information to analyze the diff properly.
- Install Claude Code: The native install script from the official documentation is used. It works on ubuntu-latest (Linux). For Windows runners, you would use the PowerShell or CMD install commands instead.
- Environment variable ANTHROPIC_API_KEY: This is how Claude Code authenticates in a non-interactive CI environment. You must create a secret in your GitHub repository settings named
ANTHROPIC_API_KEYcontaining your Anthropic API key. According to the quickstart guide, you can log in using a Claude Console account (API access with pre-paid credits) or a Claude subscription. For CI, using an API key from the Claude Console is the recommended approach because it does not require browser-based authentication. - The
-pflag: This tells Claude Code to run a one-off query and then exit. The prompt instructs Claude to review the changes. The--printflag makes Claude Code output the response to stdout, which is captured in the GitHub Actions logs.
Step 3: Add the API Key as a GitHub Secret
- Go to your repository on GitHub.
- Click Settings > Secrets and variables > Actions.
- Click New repository secret.
- Name it
ANTHROPIC_API_KEY. - Paste your Anthropic API key. You can generate one from the Anthropic Console.
- Click Add secret.
Your API key is now available in the workflow as ${{ secrets.ANTHROPIC_API_KEY }}. Never hardcode the key in the workflow file.
Advanced Workflow: Post Review Comments on PR
A more useful workflow posts Claude Code's review as a comment on the pull request. Here is an example that uses the GitHub CLI (gh) to comment:
name: Claude Code PR Review

on:
  pull_request:
    types: [opened, synchronize]

jobs:
  review:
    runs-on: ubuntu-latest
    permissions:
      pull-requests: write
      contents: read
    steps:
      - name: Checkout code
        uses: actions/checkout@v4
        with:
          fetch-depth: 0

      - name: Install Claude Code
        run: |
          curl -fsSL https://claude.ai/install.sh | bash

      - name: Run Claude Code review
        id: review
        env:
          ANTHROPIC_API_KEY: ${{ secrets.ANTHROPIC_API_KEY }}
        run: |
          claude -p "Review the changes in this pull request. Focus on security vulnerabilities, potential bugs, and code quality issues. Provide a concise summary with bullet points." --print > review_output.txt
          cat review_output.txt

      - name: Post review comment
        env:
          GH_TOKEN: ${{ github.token }}
        run: |
          gh pr comment ${{ github.event.pull_request.number }} --body "$(cat review_output.txt)"
Key Additions
- Permissions: The
permissionsblock grantspull-requests: writeso the workflow can post comments.contents: readis the default and sufficient for checking out the code. - Step ID: The
id: reviewallows later steps to reference this step's outputs if needed. - Output to file: Claude Code's response is redirected to
review_output.txt. Thecatcommand prints it to the logs for debugging. - Post comment: The GitHub CLI (
gh) is pre-installed on GitHub Actions runners.${{ github.token }}is an automatically generated token that allows the workflow to comment on the PR. Thegh pr commentcommand posts the review output as a comment.
Using Claude Code for Issue Triage
Beyond pull request review, you can automate issue triage. The official documentation mentions "automate code review and issue triage with GitHub Actions." Here is a workflow that runs when an issue is opened:
name: Claude Code Issue Triage

on:
  issues:
    types: [opened]

jobs:
  triage:
    runs-on: ubuntu-latest
    permissions:
      issues: write
    steps:
      - name: Checkout code
        uses: actions/checkout@v4

      - name: Install Claude Code
        run: |
          curl -fsSL https://claude.ai/install.sh | bash

      - name: Analyze issue
        id: analyze
        env:
          ANTHROPIC_API_KEY: ${{ secrets.ANTHROPIC_API_KEY }}
        run: |
          claude -p "Analyze this GitHub issue: '${{ github.event.issue.title }}' - '${{ github.event.issue.body }}'. Suggest a priority level (low, medium, high), identify which part of the codebase it likely relates to, and propose a next step for a developer." --print > analysis.txt
          cat analysis.txt

      - name: Add label and comment
        env:
          GH_TOKEN: ${{ github.token }}
        run: |
          gh issue comment ${{ github.event.issue.number }} --body "$(cat analysis.txt)"
          # Optionally add a label based on analysis
          # gh issue edit ${{ github.event.issue.number }} --add-label "needs-triage"
This workflow triggers on new issues, analyzes the title and body, and posts a comment with Claude's analysis. You can extend it to automatically add labels based on Claude's output, though that requires parsing the output in a subsequent step.
Authentication in CI: API Key vs. OAuth
When running Claude Code locally, you authenticate via a browser-based OAuth flow. In CI, there is no browser, so you must use an API key. The official documentation states: "You can log in using any of these account types: Claude Pro, Max, Team, or Enterprise (recommended); Claude Console (API access with pre-paid credits); Amazon Bedrock, Google Cloud's Agent Platform, or Microsoft Foundry." For CI, the Claude Console account is the most straightforward because it provides an API key that you can store as a GitHub secret.
If you use a Claude subscription (Pro, Max, Team, or Enterprise), you cannot easily authenticate in CI because the login flow requires a browser. The API key from the Console is the recommended approach for automated workflows.
CLI Flags for CI Use
Claude Code provides several flags that are particularly useful in CI environments. These are documented in the CLI reference and the quickstart guide:
| Flag | Description | Example |
|---|---|---|
-p "query" | Run a one-off query, then exit. This is the primary flag for CI. | claude -p "review this code" |
--print | Print the response to stdout. Without this, Claude Code may not output anything visible in CI logs. | claude -p "summarize" --print |
-c | Continue the most recent conversation in the current directory. Less useful in CI because each run is isolated. | claude -c |
-r | Resume a previous conversation. Not typically used in CI. | claude -r |
--version | Print the version number followed by (Claude Code). Useful for debugging. | claude --version |
The -p flag is the workhorse for CI. It accepts a string prompt and executes it non-interactively. The --print flag ensures the output is captured in the CI logs, which you can then use in subsequent steps (e.g., to post a comment).
Permission Modes and CI
In interactive mode, Claude Code has several permission modes that control whether it asks for approval before making changes. The official documentation describes these modes: acceptEdits auto-approves file edits, plan lets Claude propose changes without editing, and some accounts have an auto mode that runs a background safety check and blocks risky actions. In CI, however, there is no interactive prompt. Claude Code will execute the task without asking for approval. This means you must be careful about what prompts you give it. If you ask Claude to edit files in CI, it will do so without human review. For code review workflows, this is fine because Claude is only reading and analyzing code, not modifying it. If you want Claude to make changes (e.g., auto-fix lint errors), you should have a separate human review step before merging.
Best Practices for CI Prompts
Based on the quickstart guide's pro tips and common workflows, here are best practices for crafting prompts in CI:
- Be specific: Instead of "review the code," use "review the changes in this pull request for security vulnerabilities, focusing on SQL injection and XSS risks." The guide says: "Be specific with your requests."
- Use step-by-step instructions: If you want Claude to perform multiple analyses, break them into numbered steps. For example: "1. Identify all changed files. 2. For each file, list potential bugs. 3. Provide a summary."
- Let Claude explore first: If your prompt requires understanding the codebase, include context. You can pipe in a diff:
git diff main...HEAD | claude -p "review this diff" --print. The overview shows this pattern:git diff main --name-only | claude -p "review these changed files for security issues". - Set expectations: Tell Claude what output format you want. For example: "Provide a summary in bullet points." This makes parsing the output easier.
Troubleshooting
Claude Code fails to authenticate
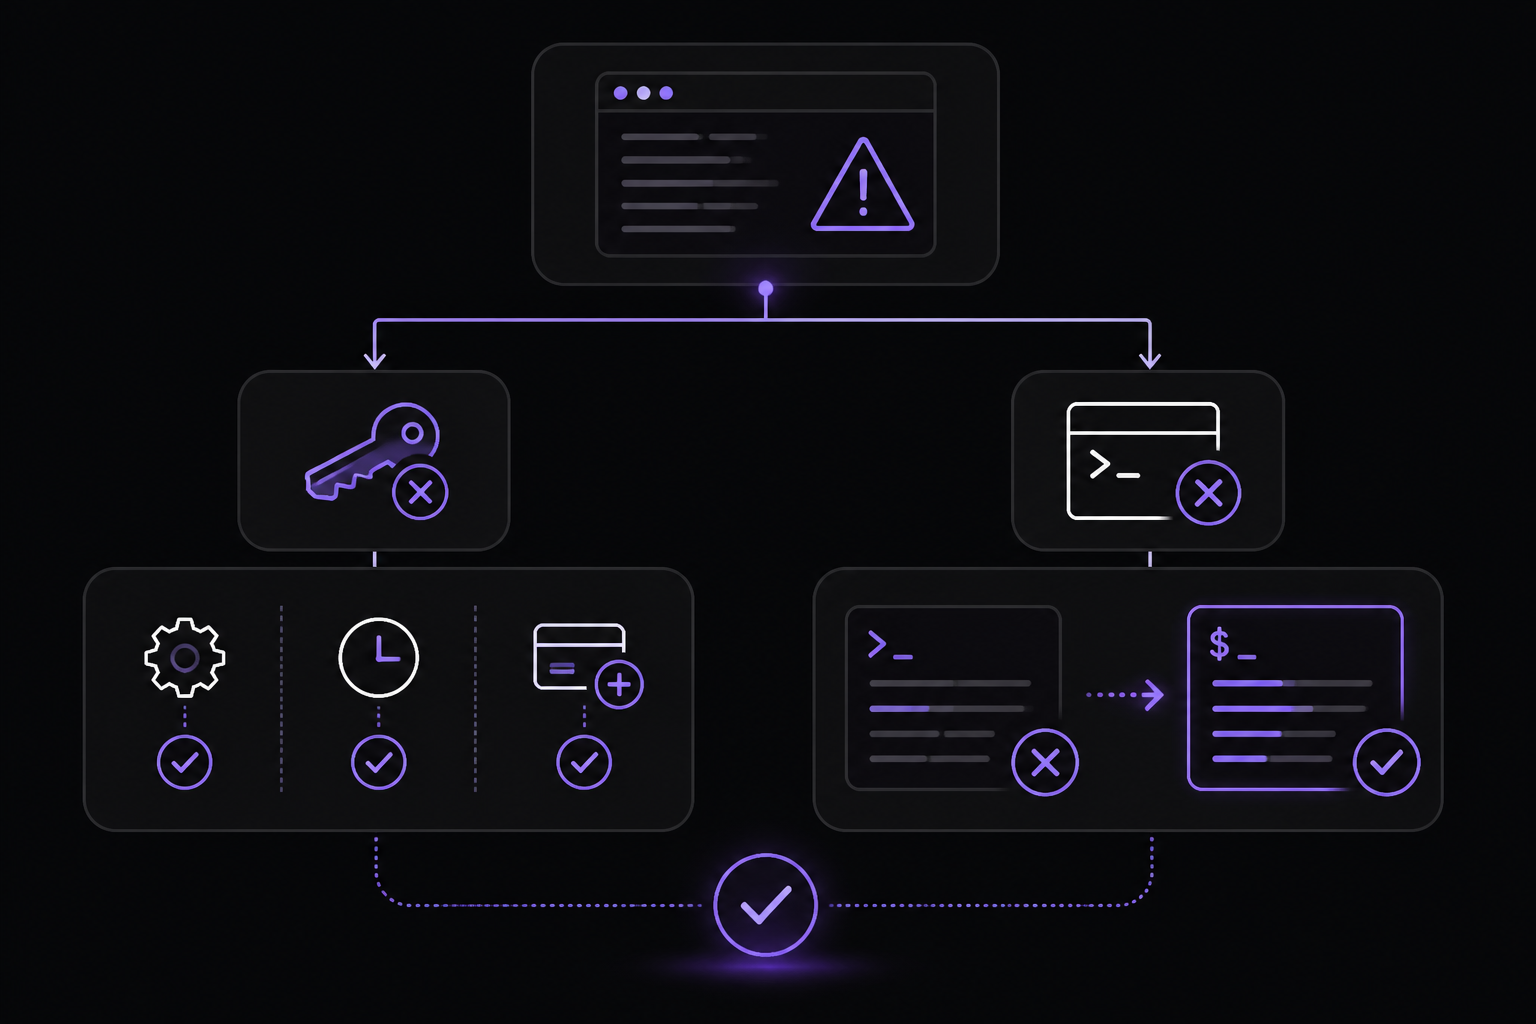
If you see an authentication error in the CI logs, check that:
- The
ANTHROPIC_API_KEYsecret is correctly set in your GitHub repository. - The API key is active and has not expired. You can verify this in the Anthropic Console.
- The API key has sufficient credits. Claude Code usage consumes credits from your Claude Console account.
The install script fails
If the native install script fails with syntax error near unexpected token, you are likely running it in the wrong shell. The official documentation provides guidance: "If you see The token '&&' is not a valid statement separator, you're in PowerShell, not CMD. If you see 'irm' is not recognized as an internal or external command, you're in CMD, not PowerShell." On GitHub Actions, the default shell on ubuntu-latest is bash, which should work fine with the curl command. If you are using a Windows runner, use the PowerShell install command: irm https://claude.ai/install.ps1 | iex.
Claude Code does not output anything
If the workflow runs but you see no output from Claude Code, you may have forgotten the --print flag. Without it, Claude Code may not print the response to stdout. Add --print to the command.
The review comment is empty or truncated
If the output is too long, the gh pr comment command may fail or truncate. Consider asking Claude for a concise summary. You can also split the output into multiple comments if needed.
Permission errors when posting comments
If the workflow fails with a permission error when trying to post a comment, ensure the permissions block includes pull-requests: write. Also check that the workflow is running on the default branch (usually main) for pull request events from forks. By default, GitHub Actions does not give write permissions to workflows triggered by pull requests from forked repositories. You may need to adjust the workflow settings in your repository to allow write access for fork PRs, or use a different approach like creating a check run instead of a comment.
Going Further
Once you have basic automated code review working, explore these next steps from the official documentation:
- Automate more workflows: Use Claude Code to fix lint errors across a project, resolve merge conflicts, update dependencies, and write release notes. The overview shows examples like
claude "write tests for the auth module, run them, and fix any failures". - Create commits and pull requests: Claude Code can stage changes, write commit messages, create branches, and open pull requests. In CI, you could have Claude auto-fix issues and create a PR for human review.
- Connect your tools with MCP: The Model Context Protocol (MCP) allows Claude Code to read design docs in Google Drive, update tickets in Jira, pull data from Slack, or use custom tooling. This could be integrated into your CI workflow to, for example, update a Jira ticket when a PR is reviewed.
- Customize with CLAUDE.md: Add a
CLAUDE.mdfile to your project root to set coding standards, architecture decisions, preferred libraries, and review checklists. Claude Code reads this file at the start of every session, including CI sessions. - Schedule recurring tasks: Use Routines (on Anthropic-managed infrastructure) or desktop scheduled tasks to run Claude on a schedule for morning PR reviews, overnight CI failure analysis, weekly dependency audits, or syncing docs after PRs merge.
- Run agent teams: Spawn multiple Claude Code agents that work on different parts of a task simultaneously. A lead agent coordinates the work, assigns subtasks, and merges results. This could be used in CI to review multiple aspects of a PR in parallel.
- Explore the CLI reference: The full set of commands and flags is documented in the CLI reference. You can pipe logs into Claude Code, run it in CI, or chain it with other tools following the Unix philosophy.
For more details, refer to the official documentation on Claude Code overview and the quickstart guide.
Comments
More Guides
View all claude-code
Running Claude Code in CI Pipelines Without Interactive Prompts
Learn how to run Claude Code in CI/CD pipelines without interactive prompts. Covers authentication, permission configuration, GitHub Actions and GitLab CI integration, and troubleshooting common issues.
 agents
Claude Code Quickstart: Install, Setup, and Automate Desktop Tasks
Learn how to install, configure, and start using Claude Code to automate desktop tasks, fix bugs, manage Git workflows, and build features directly from your terminal, IDE, or desktop app.
 productivity
Claude Code: Complete Guide to Settings, Permissions, and Configuration
Complete guide to Claude Code settings, permissions, and configuration scopes. Learn how to manage user, project, local, and managed settings, use the /config command, and handle invalid entries.
 api
apiBatch Processing with the Claude Message Batches API
Learn to use the Claude Message Batches API for cost-effective, high-throughput processing of multiple prompts. Covers setup, batch creation, monitoring, result retrieval, and troubleshooting with practical examples.
 mcp
mcpConnecting Claude to Your Database with MCP: A Complete Guide
Learn how to connect Claude Code to your database using the Model Context Protocol (MCP). This guide covers setup, configuration, querying, and advanced usage with real-world examples.
 prompting
Claude system prompts: patterns that actually improve output
Learn how to write Claude system prompts that produce measurably better results using hooks, settings, CLAUDE.md files, and permission rules. Covers official Anthropic patterns and community-proven techniques.